
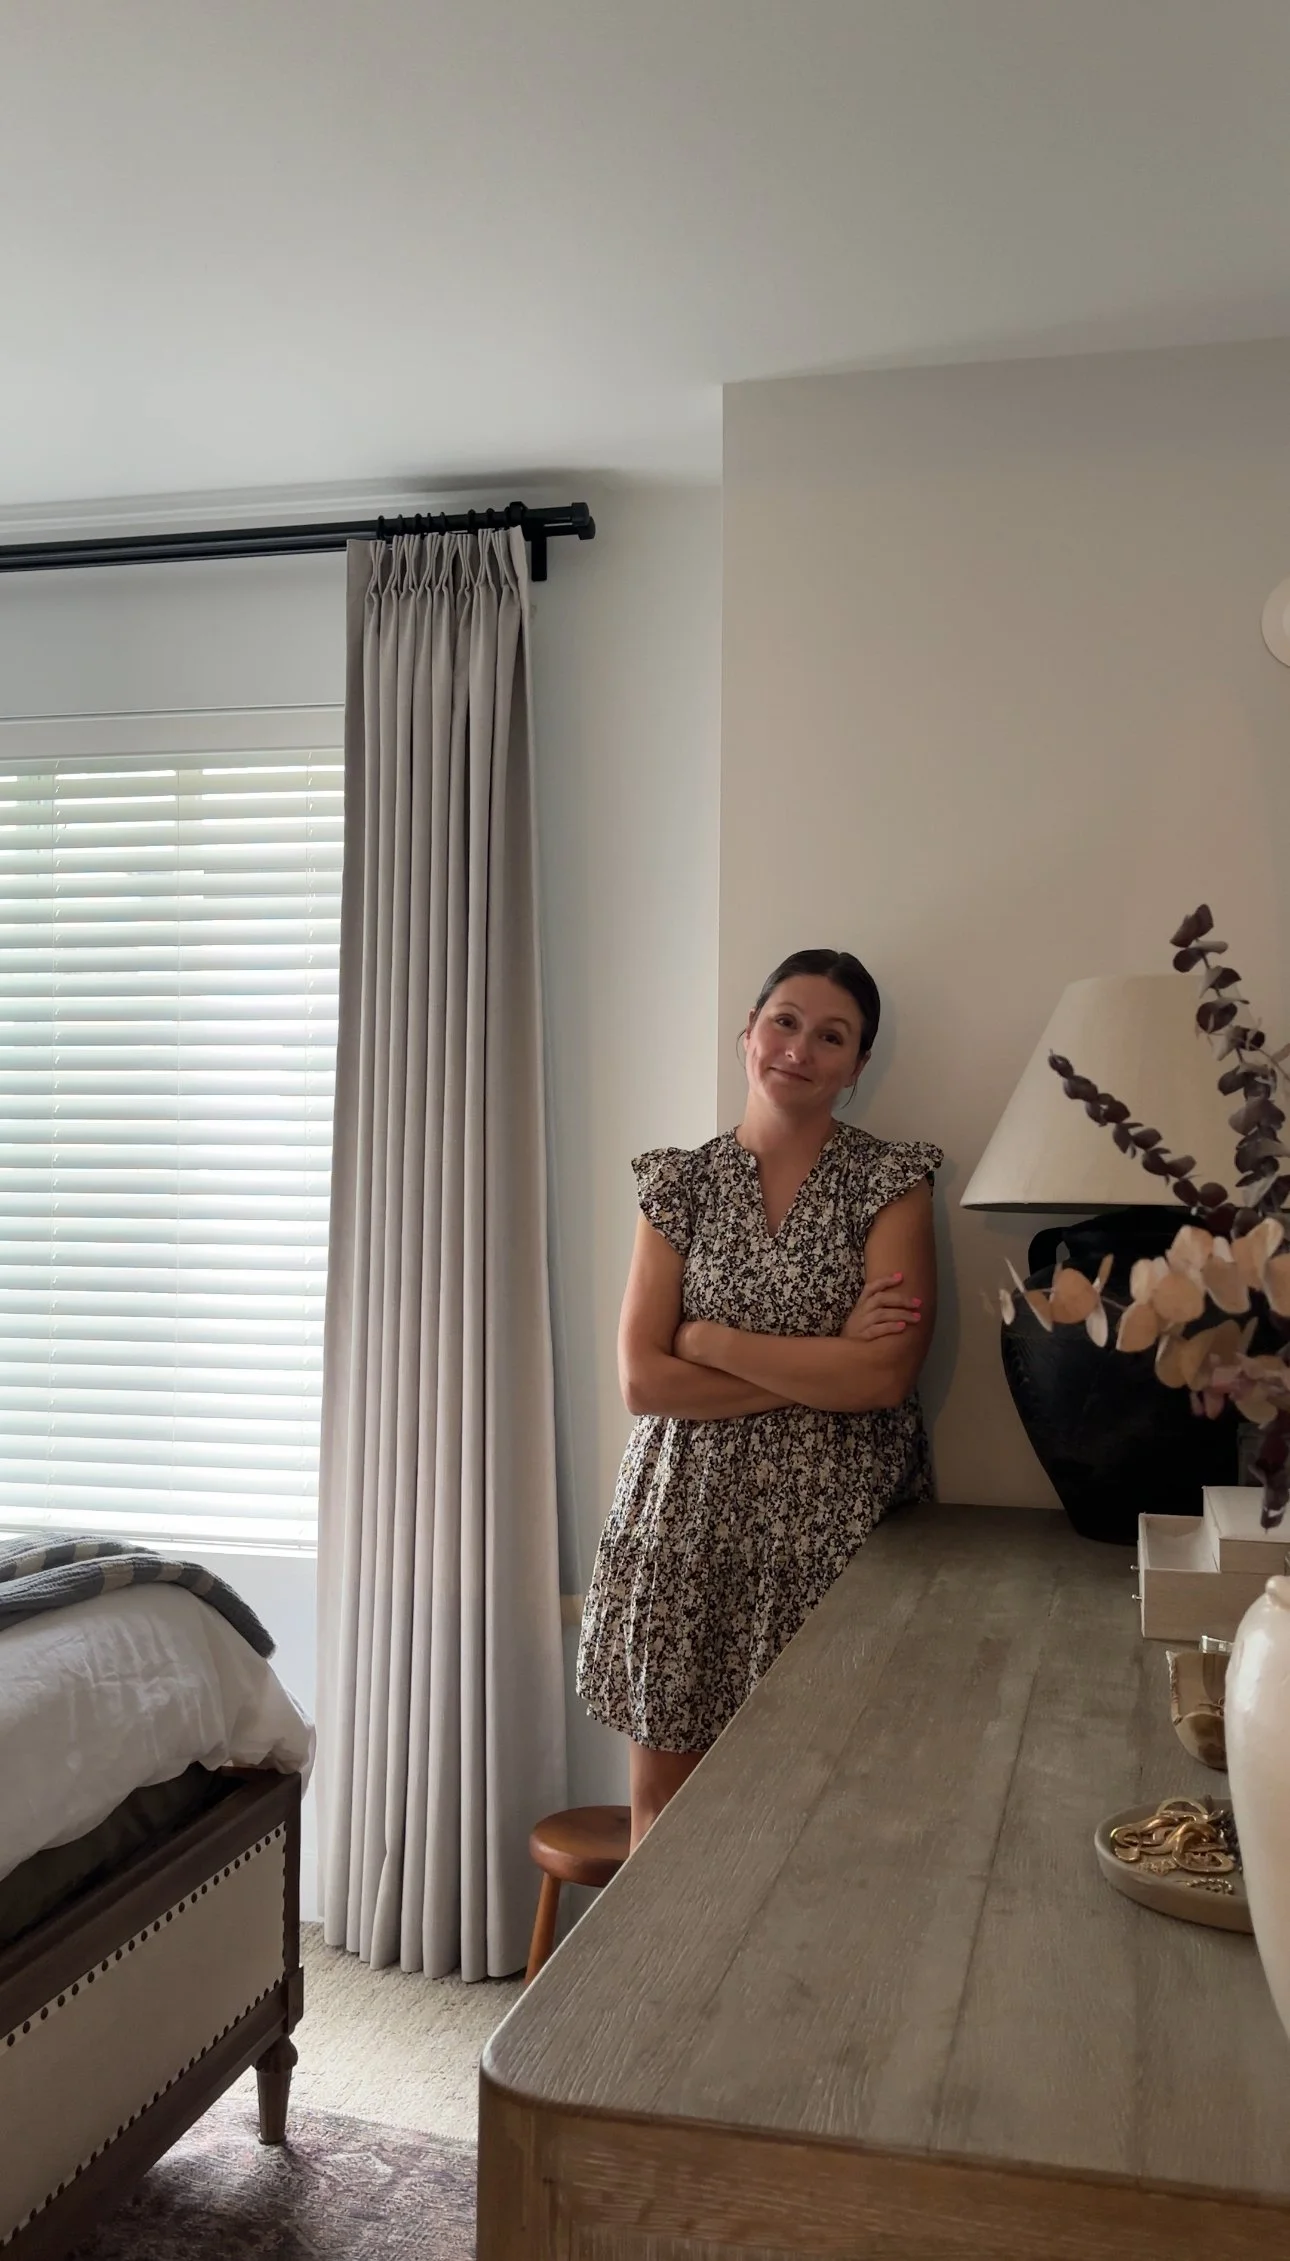
5 Lighting Swaps That Make Any Room Look Twice as Expensive
/Lighting determines how every finish, fabric and piece of furniture in a room is perceived. Flat, harsh light can make well-made furniture appear ordinary, while balanced light gives modest pieces a deliberate, finished look. Three factors drive that difference: the fixture itself, the color temperature of the bulb and the placement of each light source. Improving all three rarely requires a large budget.
The five swaps below are ordered by visual impact rather than cost. Most fall under $150, and several can be completed without professional help. Hardwired work, such as new circuits, recessed lighting or dedicated smart switches, belongs with a licensed electrician.
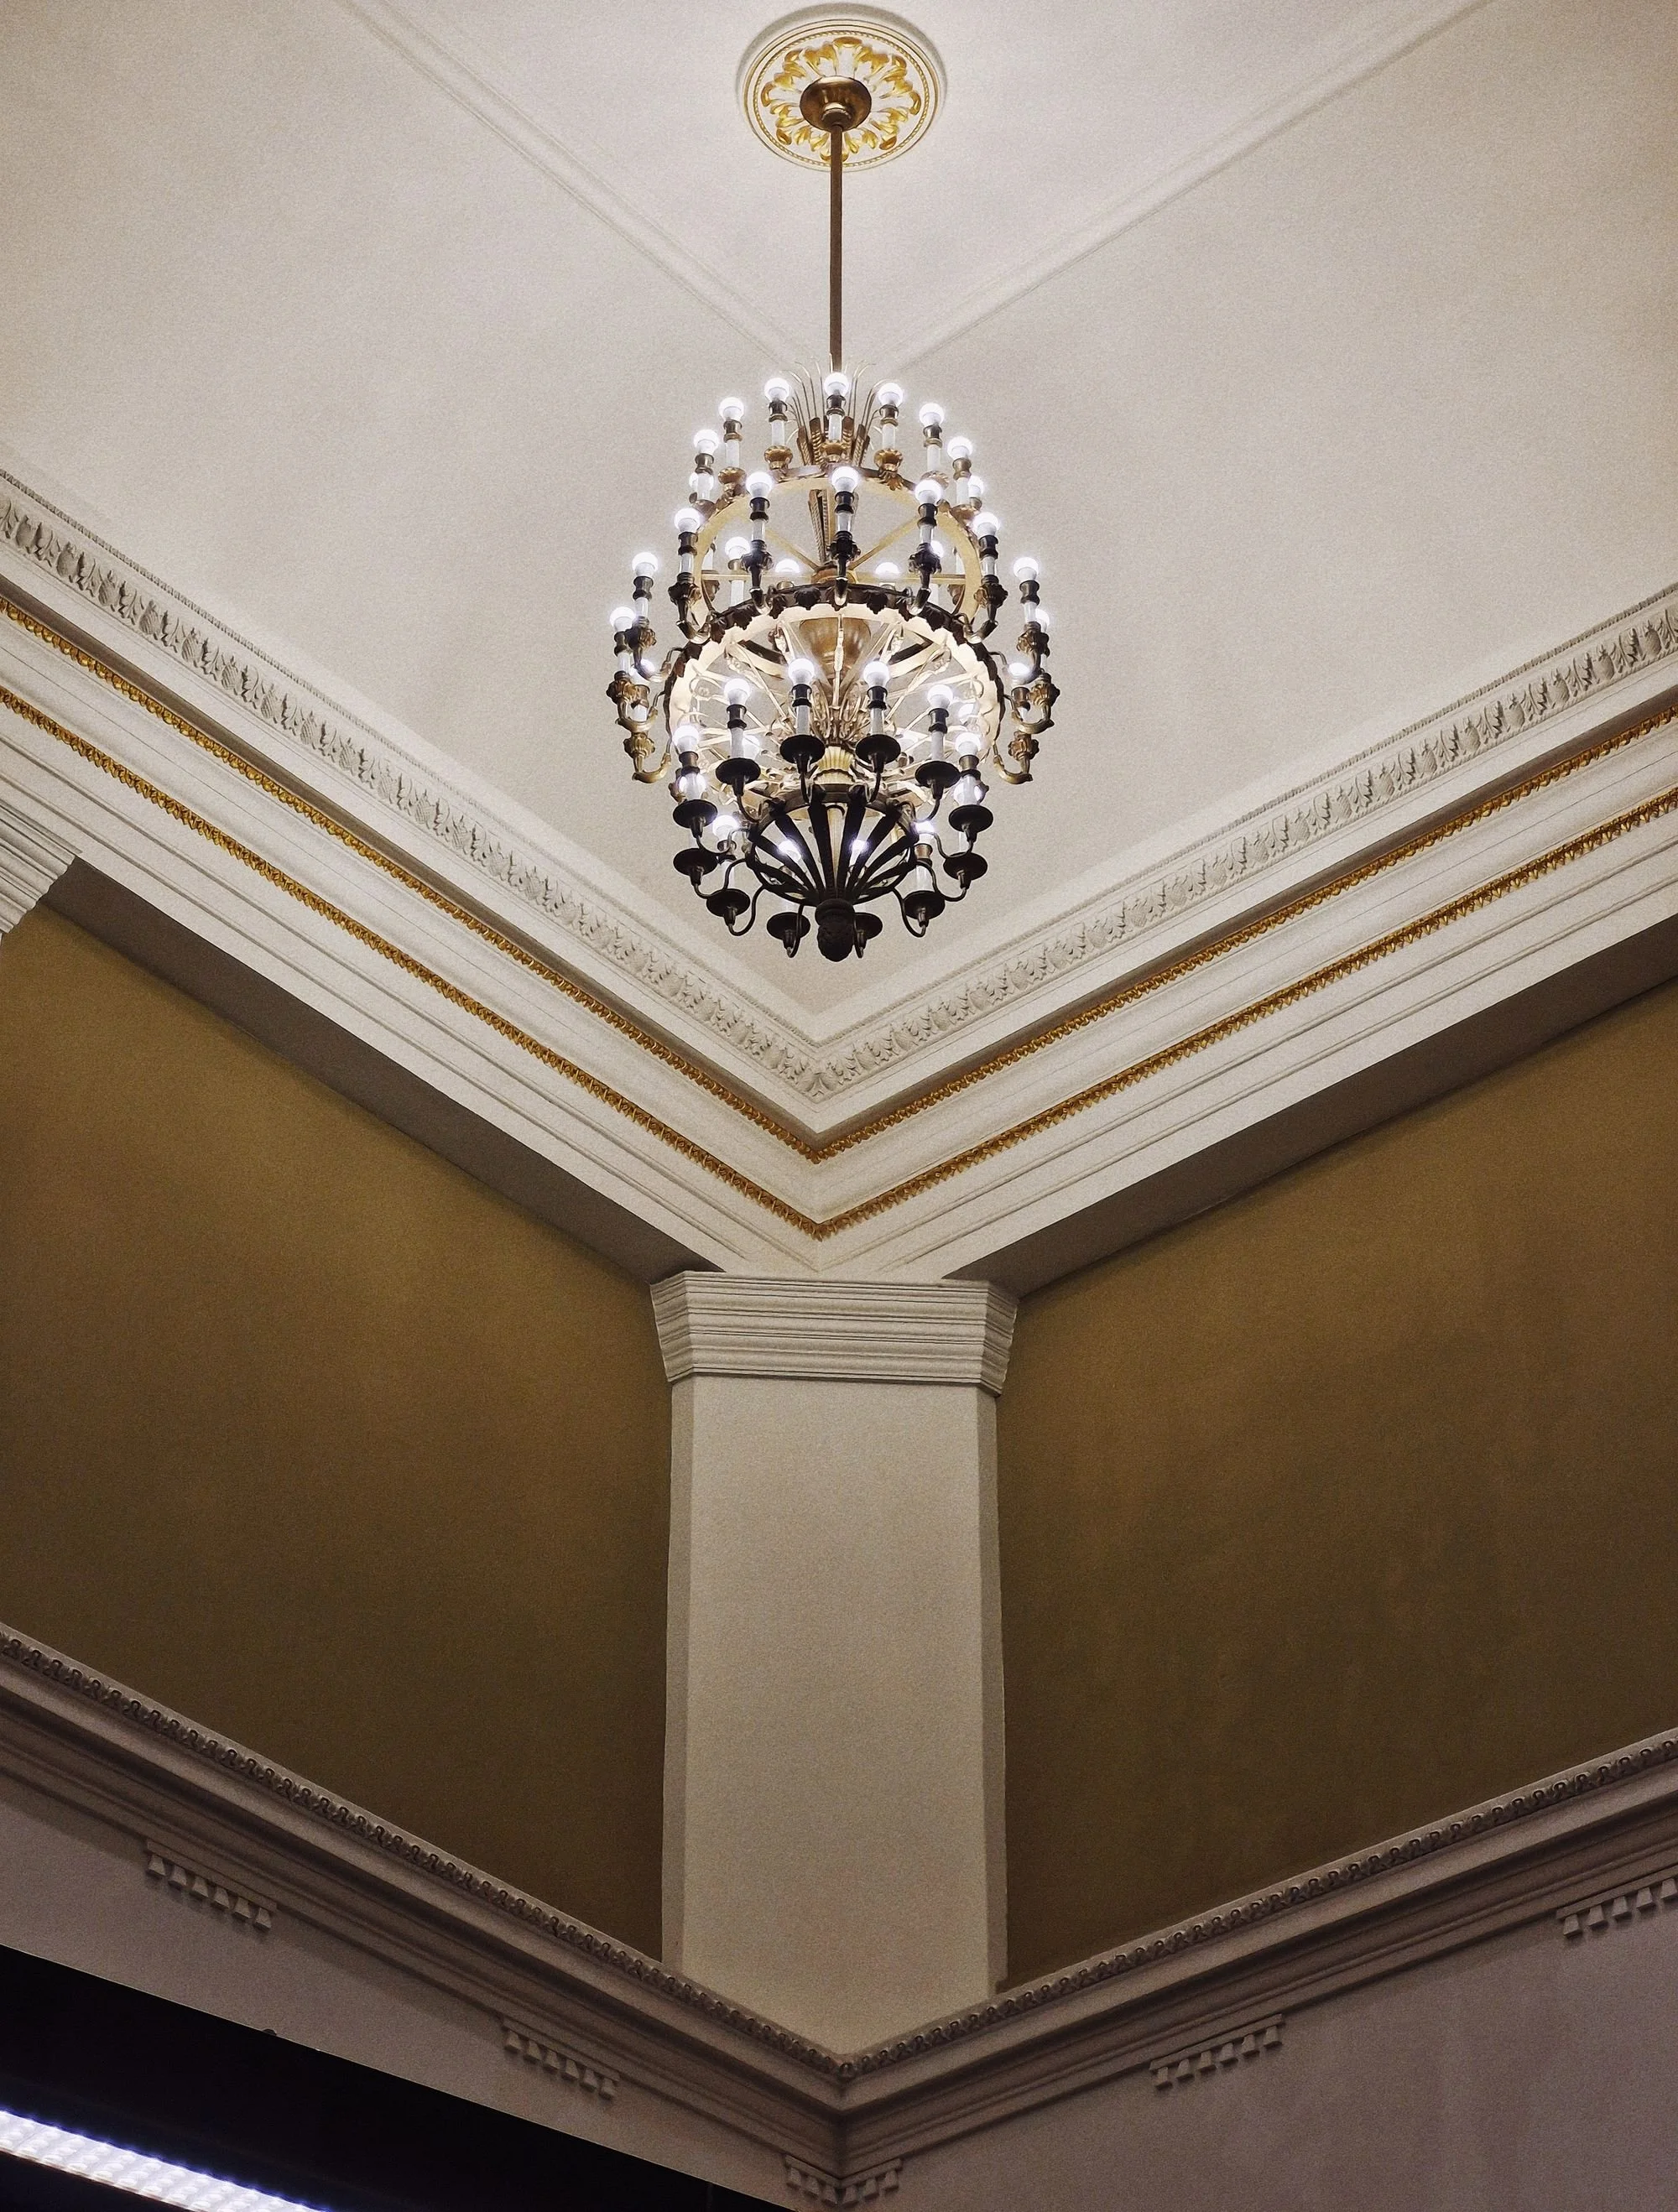
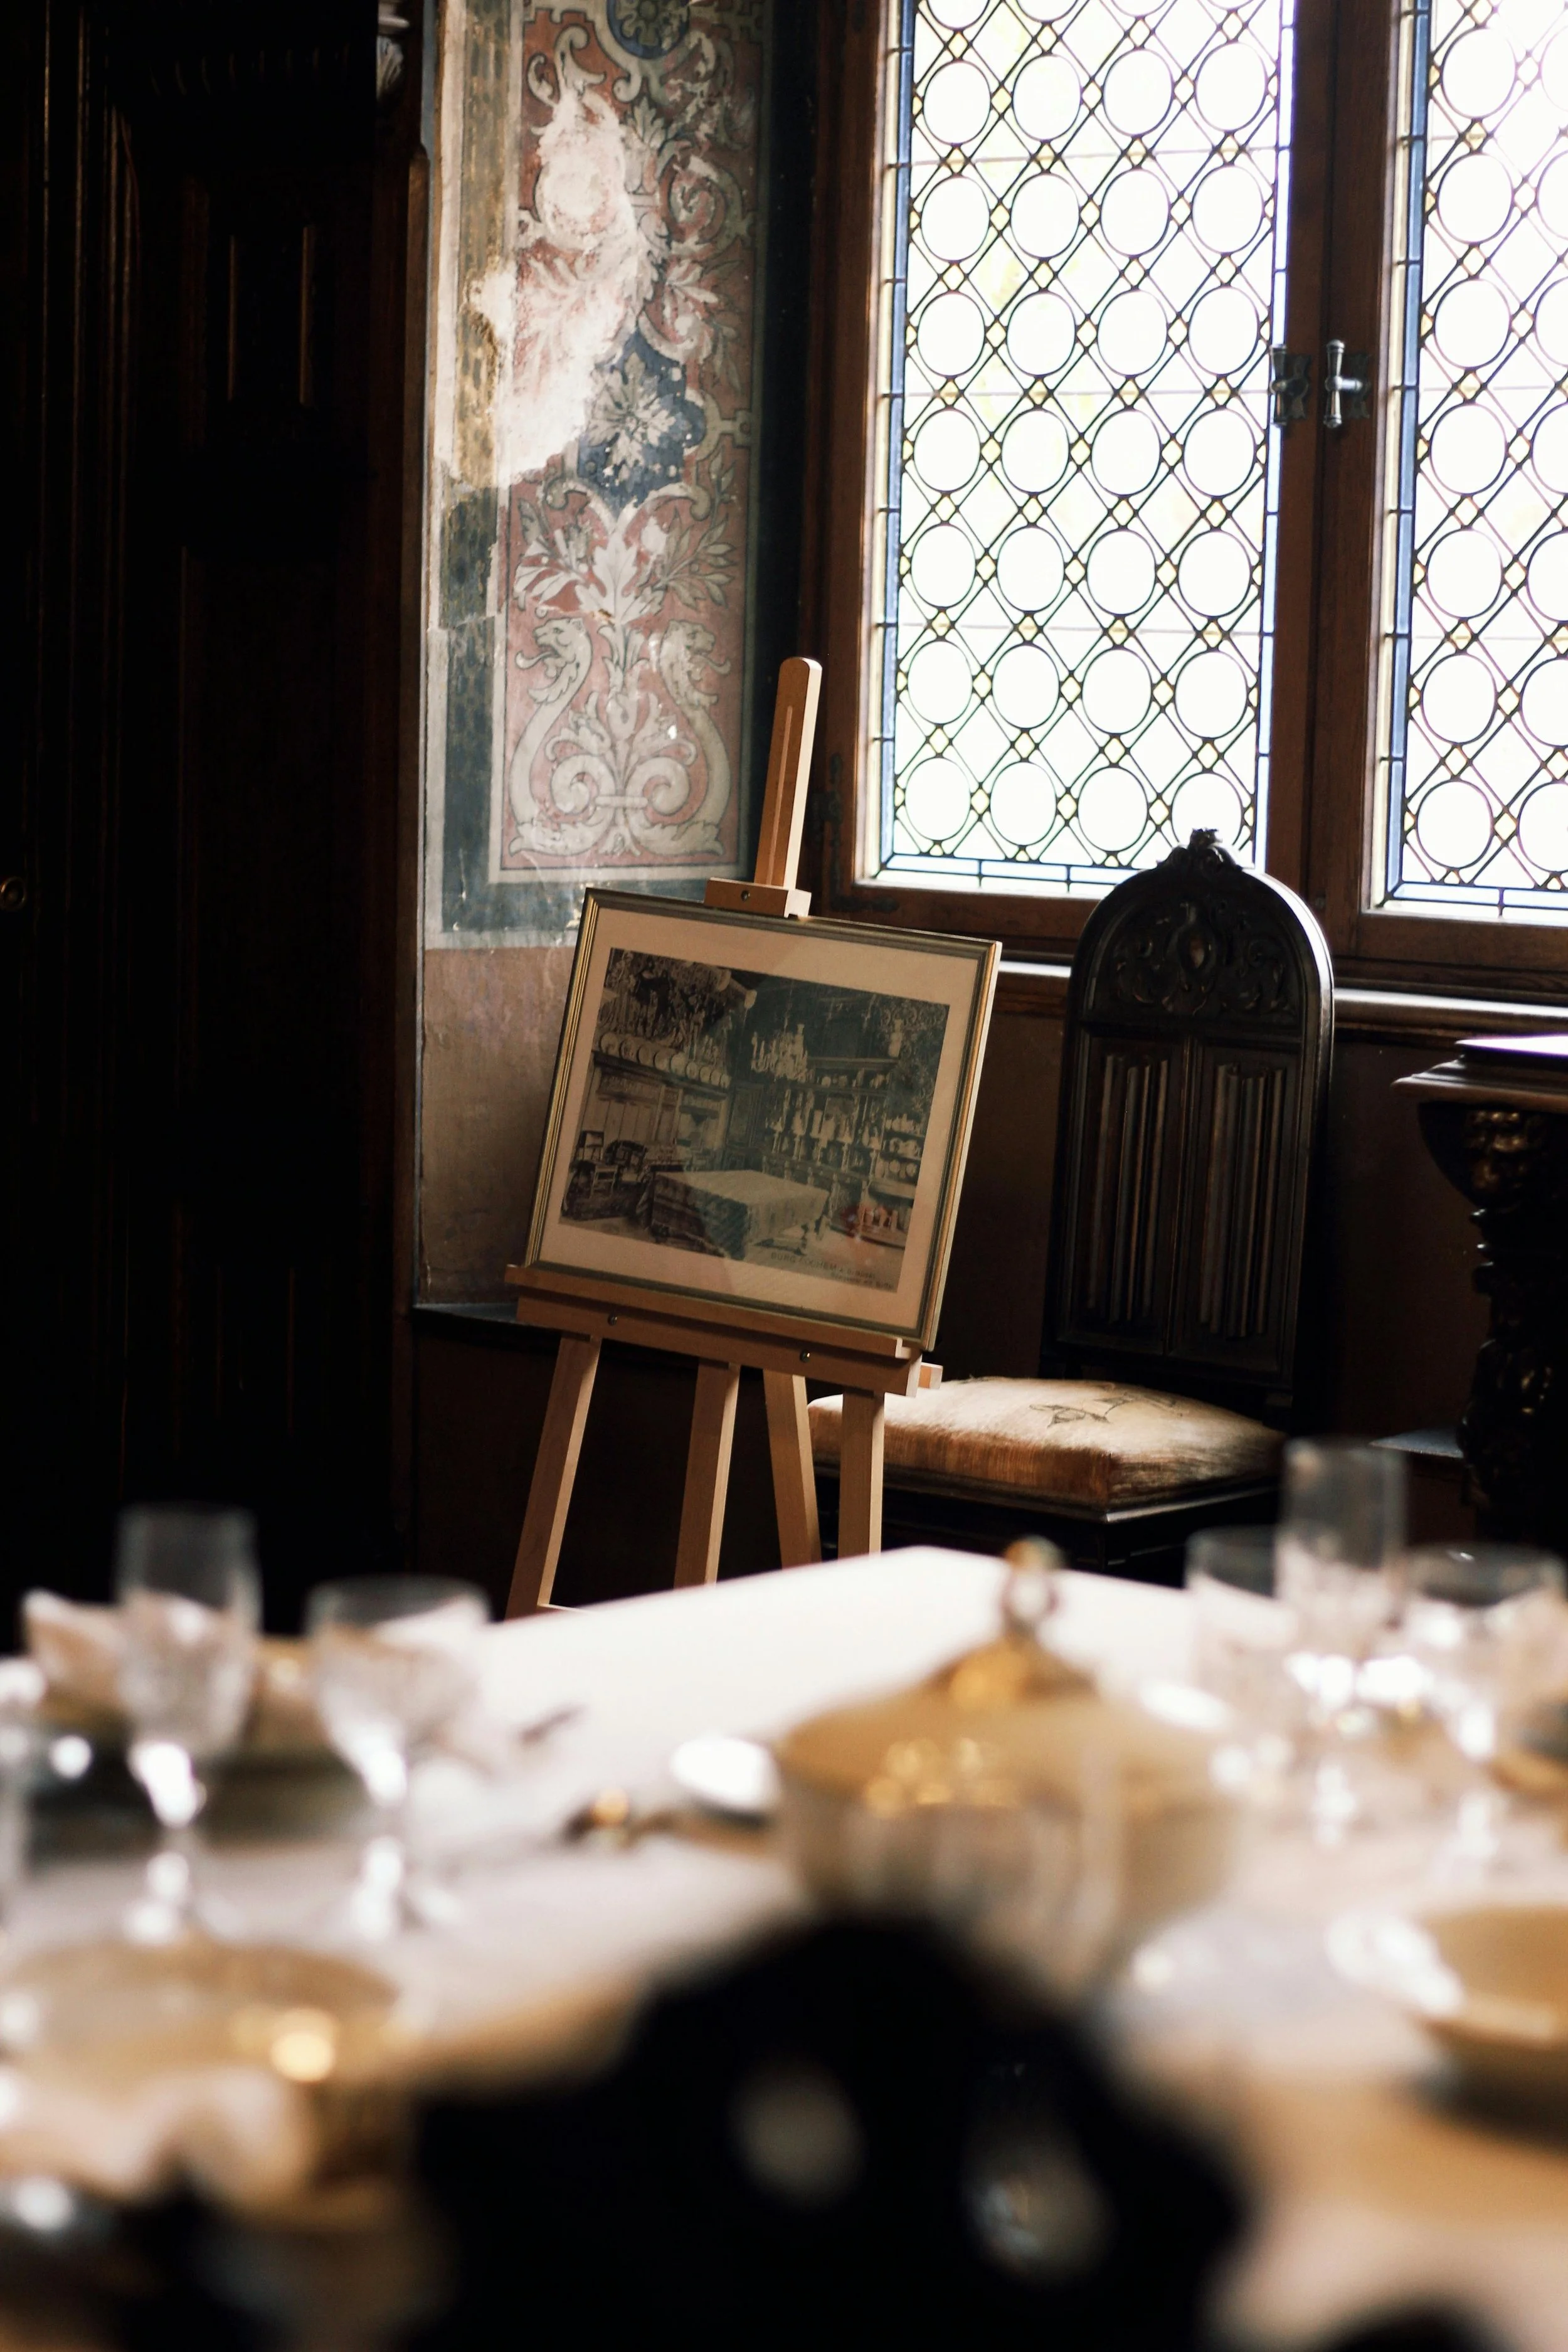
Photo by Dmitry Alexandrovich on Pexels
1. Replace the Flush-Mount Dome Fixture
The frosted flush-mount dome remains a standard fixture in many American homes built over the past several decades. It casts flat overhead light that washes out faces, exposes ceiling imperfections and gives a room a builder-grade appearance. Replacing it is generally a straightforward project, provided the power is shut off at the breaker before any wiring is disconnected. Homeowners who are unsure about the existing wiring should leave the installation to a licensed electrician.
A replacement does not need to be costly; a milk glass flush mount is one affordable example. A linen drum pendant or a black metal semi-flush mount with exposed bulbs adds visual weight to the ceiling and gives the room a clear focal point. For sizing, designers commonly add the room’s length and width in feet and use that total as the fixture diameter in inches. A 12-by-12-foot bedroom, for example, calls for a fixture of roughly 24 inches. Correct scale is what makes a fixture appear planned rather than added as an afterthought.
Bulb selection carries equal weight. A 2700K bulb suits living rooms and bedrooms, producing the warm tone associated with professionally styled interiors. A 3000K bulb is better suited to kitchens and bathrooms, where clearer task light supports cooking, grooming and cleaning.
2. Add a Third Light Source Below Eye Level
Interior designers plan lighting in three layers. Ambient lighting provides general illumination, task lighting supports activities such as reading or cooking, and accent lighting draws attention to a wall, a plant or a piece of artwork. Many homes depend on the ambient layer alone, which is a common reason rooms appear flat.
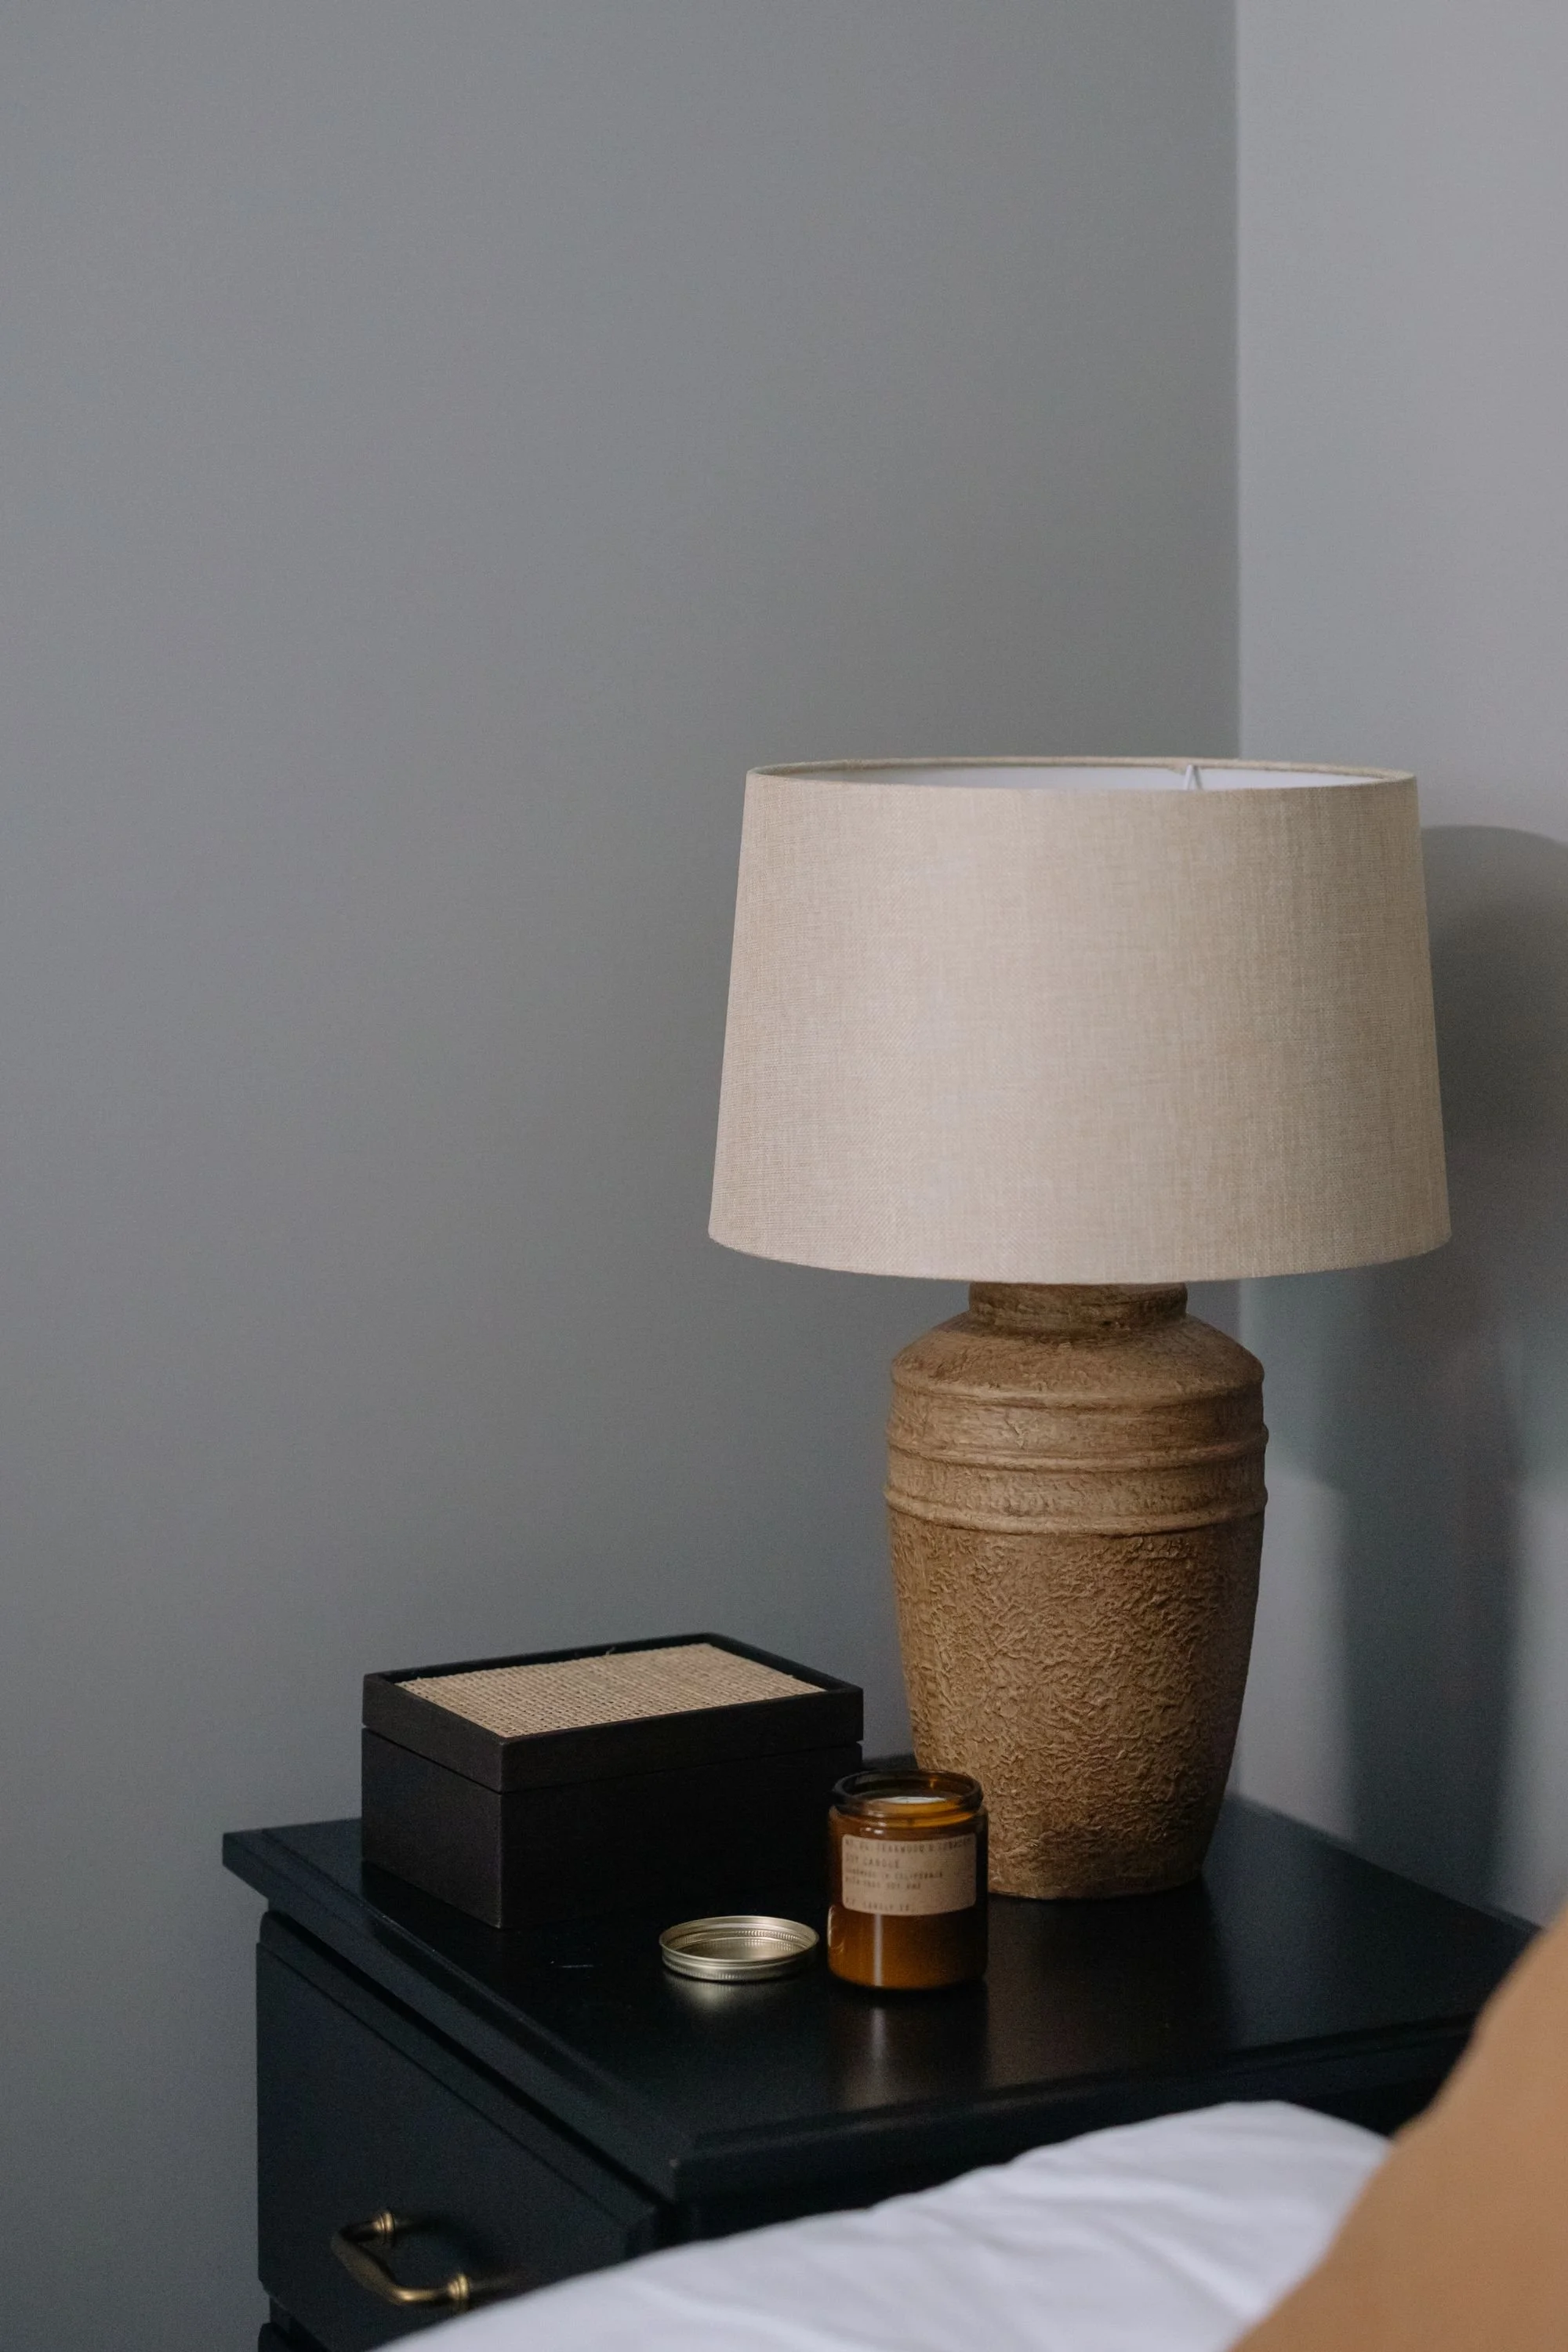
Photo by cottonbro studio on Pexels
A practical standard is to include at least one light source below eye level in every room. A table lamp on a nightstand, a plug-in sconce beside a sofa or a floor lamp behind a reading chair all meet that standard. Lower light sources pull attention away from the ceiling, add warmth to the space and help a furniture arrangement read as one cohesive layout. Lucy Uren, founder and creative director at Rowen & Wren, told Homes & Gardens that she sees a shift toward “softer, layered lighting” in interiors.
This upgrade is also among the least expensive, frequently costing under $50. A rattan table lamp from a retailer such as Target or Amazon, fitted with a warm 2700K Edison-style LED bulb, can noticeably soften the atmosphere of a bedroom at a fraction of the cost of a new ceiling fixture.
3. Upgrade Switch Plates and Add Dimmers
Switch plates are easy to overlook, yet standard white plastic plates can leave a room looking unfinished. Matte black or brushed brass replacements install in minutes with a screwdriver, and a set of four typically costs $15 to $40 at hardware stores. Few upgrades deliver a comparable visual change at that price.
New plates pair well with dimmer switches. According to the U.S. Department of Energy’s Building America Solution Center, replacing a home’s five most frequently used light fixtures or bulbs with ENERGY STAR models can save about $75 per year. A dimmer on an overhead fixture adds to that efficiency, since the light no longer runs at full output through the evening. A room that can move between bright task light and a softer evening setting also reads as more carefully designed than one with a single fixed level. Because dimmers involve the switch wiring and must be matched to LED bulbs, a licensed electrician is the safer choice in older homes.
4. Choose Smart Bulbs Over New Fixtures
Smart lighting does not require a new fixture. Smart bulbs from brands such as Wyze, TP-Link or Govee generally cost $10 to $20 each, fit standard sockets and connect to a phone app within minutes. Once connected, entryway lights can be scheduled to switch on at dusk, and bedroom lights can shift to a soft 2200K tone in the evening. Preset scenes, such as a setting for movie nights, can dim several lights at once and give the room a coordinated look across every source.
Larger projects, such as recessed lighting or dedicated smart switches throughout the home, call for a licensed electrician. Homeowners looking for qualified help can start with the top electrical contractors in the US affiliated with the National Electrical Contractors Association (NECA), whose members work on integrated electrical systems. A NECA contractor can also confirm that smart switches are wired correctly for load compatibility, a check that matters most in homes with older wiring.
5. Install Undercabinet Lighting in the Kitchen
Undercabinet lighting ranks among the most visible kitchen upgrades for the cost. It brightens countertops and removes the shadows that overhead fixtures cast across work surfaces, which makes food preparation easier and gives the kitchen a more finished appearance.
Plug-in LED strips in warm white typically cost $25 to $40 for a full kitchen and require no electrical work. They attach to the underside of the cabinets and connect to a nearby outlet. Hardwired versions provide a cleaner finish with no visible cords, but they require an electrician and suit homeowners who plan to stay in the home for several years.
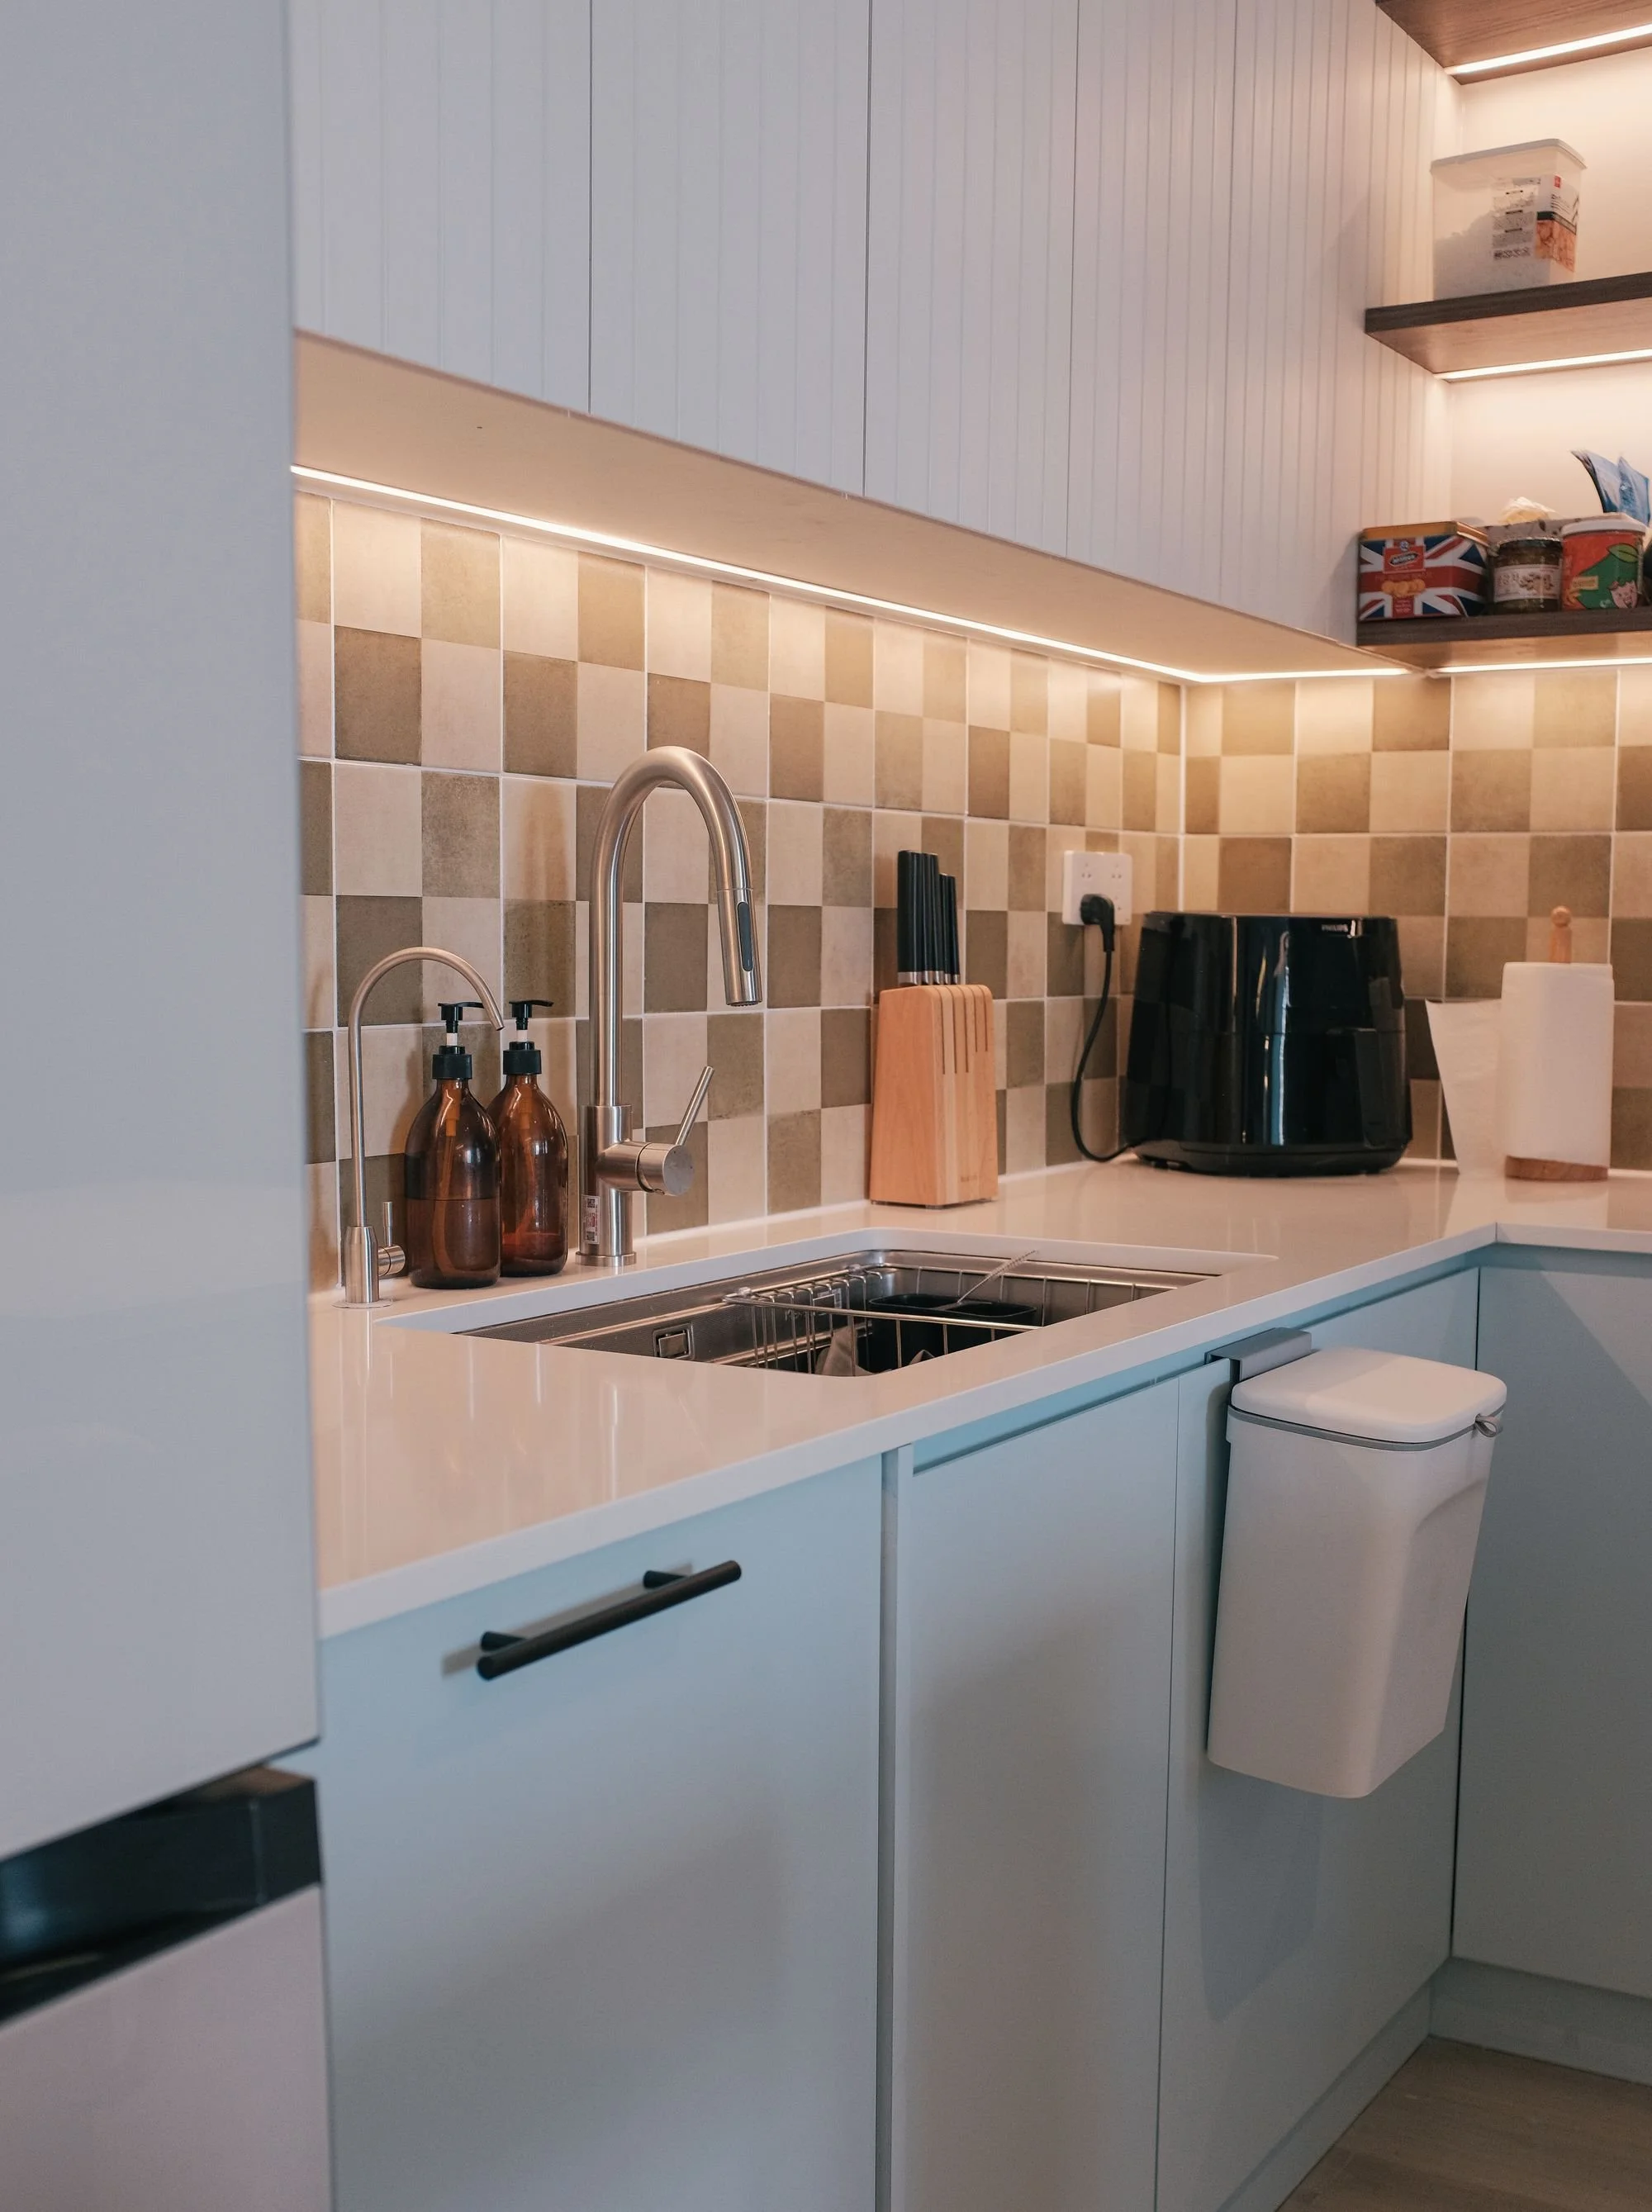
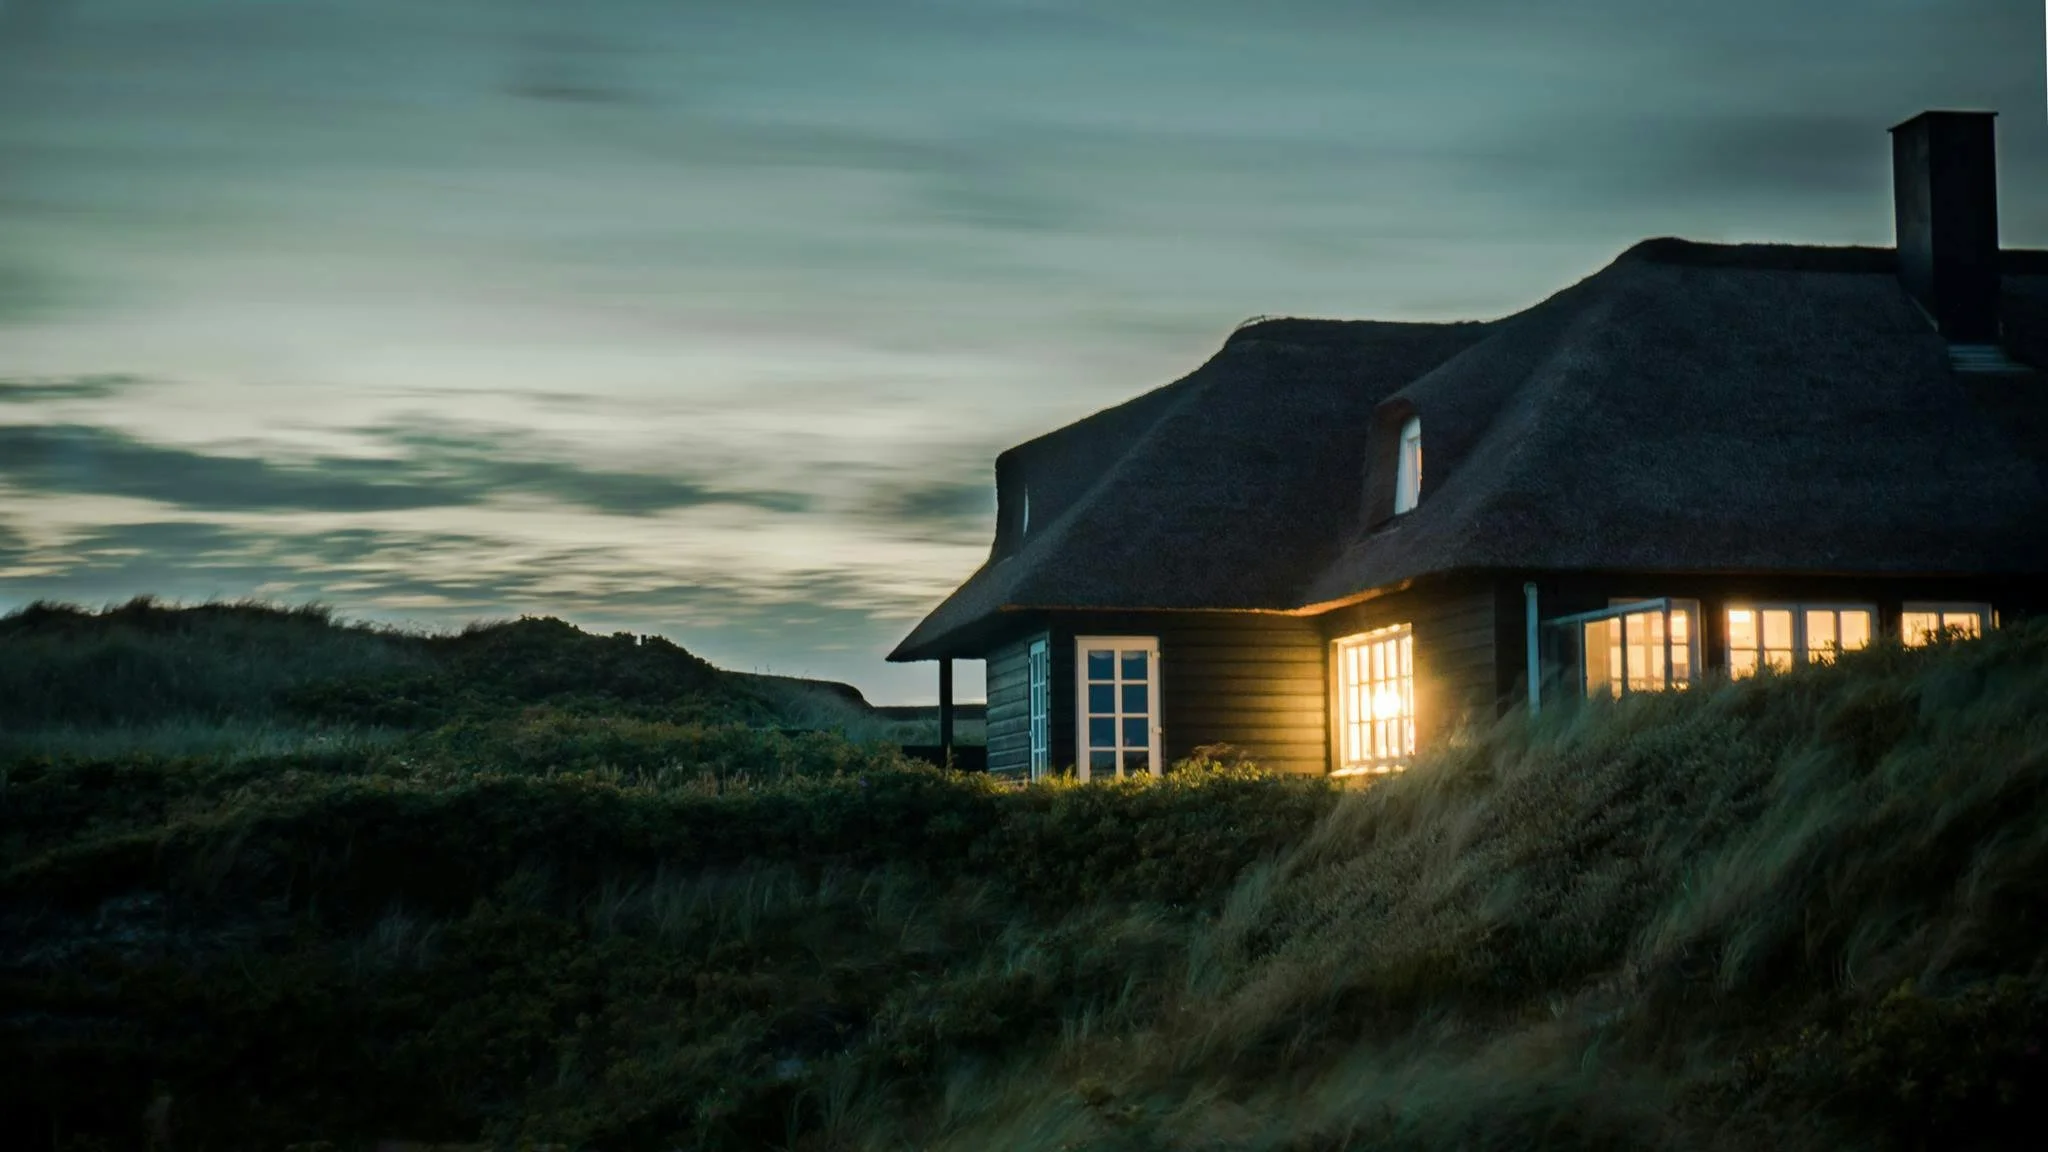
Photo by Huy Phan on Pexels
For larger remodels that add circuits for an island or peninsula, permanent LED fixtures are a sound long-term choice. Warm-white LED products now offer good color quality at lower prices than in earlier years. The U.S. Department of Energy also projects that LEDs will account for 84% of all lighting installations by 2035, with annual energy savings exceeding 569 TWh.
A Quick Decision Framework Before Buying
The table below summarizes the typical cost, installation approach and visual effect of each swap.
| Swap | Avg. Cost | DIY or Pro? | Visual Impact |
|---|---|---|---|
| Replace flush-mount dome fixture | $40 to $150 | DIY (with power off) or pro | Very High |
| Add table or floor lamp (third source) | $25 to $80 | DIY (plug-in) | High |
| Swap switch plates and add dimmer | $20 to $60 | DIY plates, pro for dimmers | Medium-High |
| Smart bulbs throughout | $10 to $20 per bulb | DIY | High (with scenes) |
| Undercabinet LED strips (kitchen) | $25 to $120 | DIY (plug-in) or pro (hardwired) | Very High |
The One Upgrade Worth Saving For
For a single larger investment, the dining room pendant offers the greatest effect. It hangs near eye level for seated guests, frames the table and is among the first features noticed on entering the room. A rattan, sculptural plaster or aged brass pendant (see these designer lighting dupes) in the $80 to $250 range can give the entire space a more tailored, high-end appearance.
The most practical starting point is the fixture that looks most out of place. Replacing it first shows how much a single change affects the whole room and makes the next upgrade easier to plan.





Easy lighting swaps.