
HOW TO MAKEOVER OLD FURNITURE - DIY MEDIA UNIT
/This post uses affiliate links. This means that if you purchase something that I feature, I’ll get a small commission (this will not increase the price of the item). Thank you for supporting KFI!
_
HOW TO PAINT A DRESSER WITH CHALK PAINT
As much as I love beautiful decor, I also really value function - especially when it comes to furniture. This is why even though I loved our current media unit, I knew it had to go. The cupboards weren’t working for us (or our toddler’s tiny fingers); it was too small for the space; and we needed more storage.
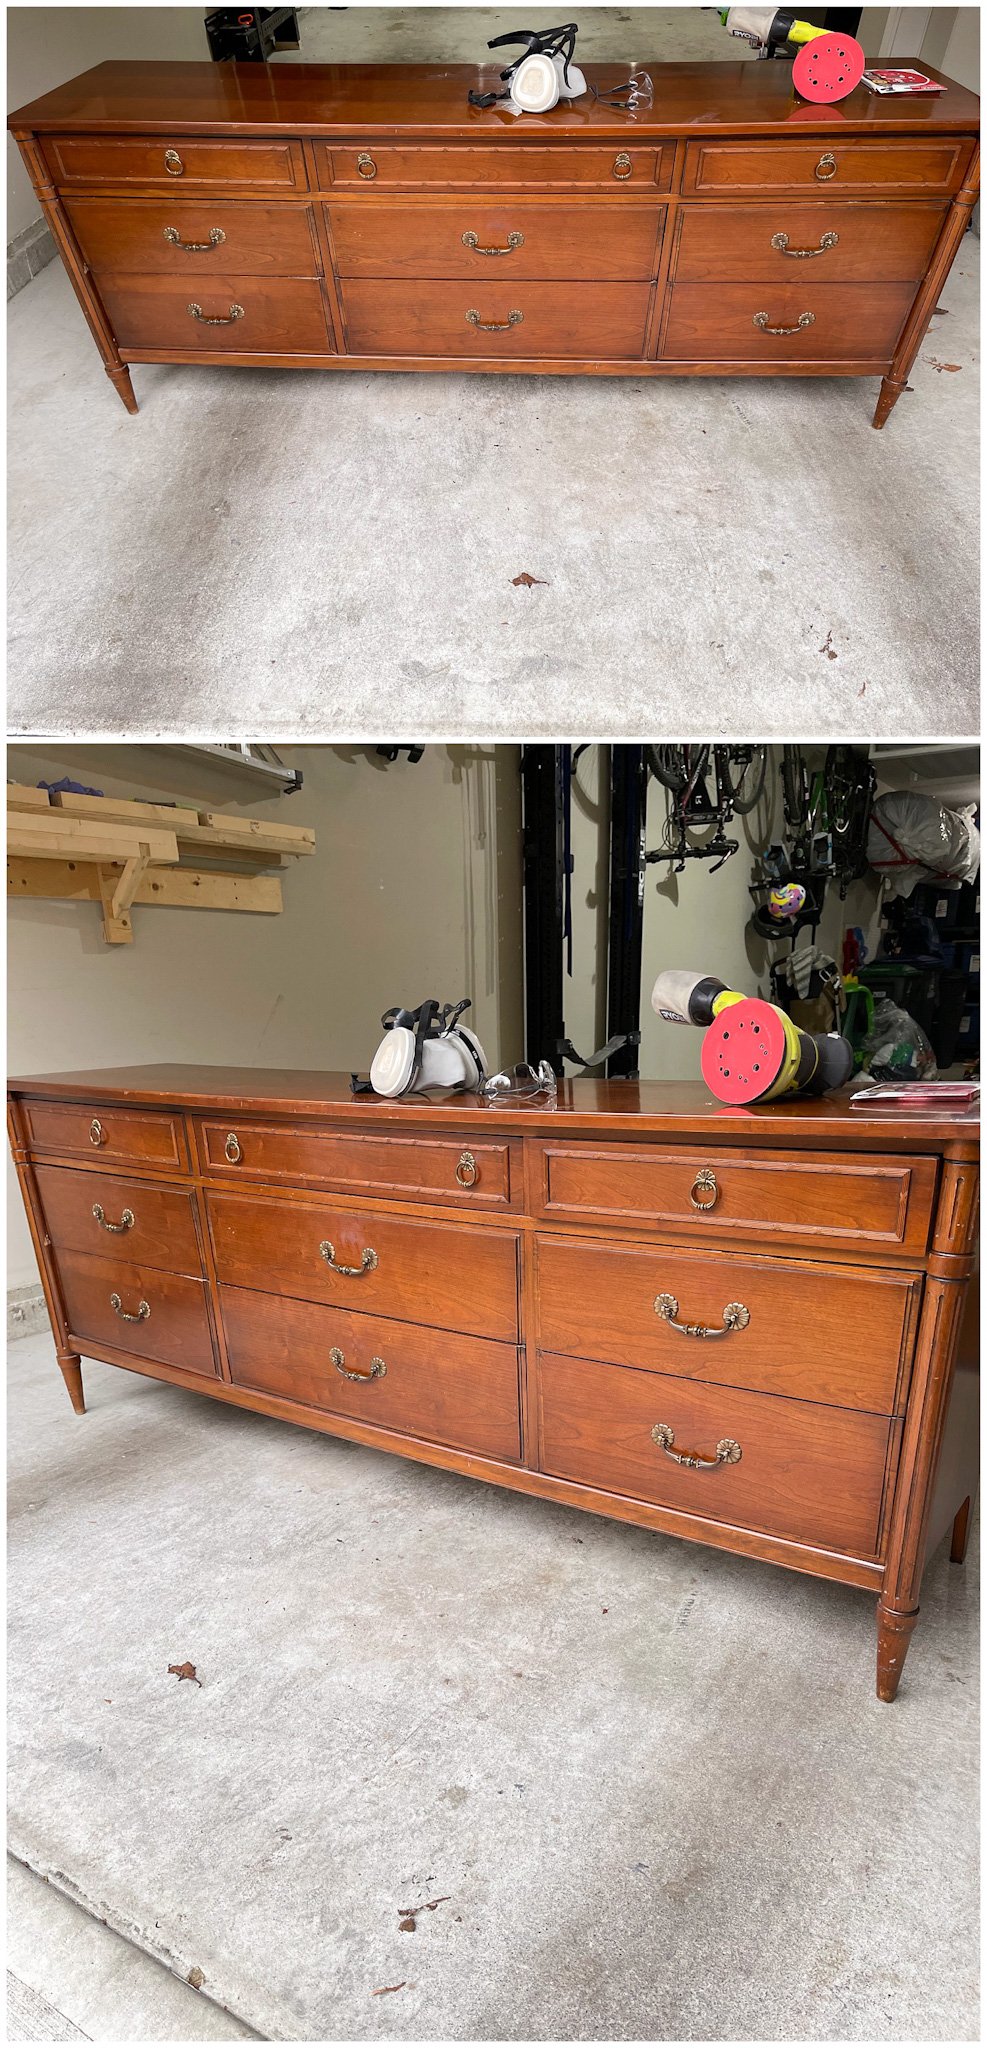
After looking on Craigslist and Facebook Marketplace for months, I found a vintage dresser that was the exact measurements I needed. It also got bonus points because it reminded me of Restoration Hardware’s Maison Media Console that I saw a month previously and fell in love with. I knew that I could paint it, keep the original hardware (if it was in good condition), and it would fit perfectly with my modern eclectic home decor. It took me all of three minutes to decide; I purchased it from a very nice woman who was downsizing, and I got to work.
I’m going to take you through my entire process, including what I learned along the way. I always say that each DIY project is a journey (it’s never as straight forward as I think it’s going to be), and this media unit makeover was no exception. It was 100% worth it, but that’s why it’s important to enjoy the DIY journey - because sometimes it’s a long one.
I decided to paint the unit with black chalk paint because I already have a lot of wood tones in our living room and I wanted something very durable. I knew it was going to get daily use, so I chose chalk paint because of its durability and longevity.
MEDIA UNIT MAKEOVER: THE PROCESS
MATERIALS

STEP ONE: SANDING
The first thing I needed to do was sand off the very thick, clear varnish that was on the dresser. I removed all the hardware and then used a hand sander (similar to this one), a multi-tool (similar to this one), and good ol’ sandpaper. You could also use a chemical stripper, but I’ve tried that in the past and it has never worked well for me. I sanded all the varnish off and then also the top layer of the wood so the primer would have something nice and rough to stick to.
Lesson learned: I probably didn’t have to be as thorough with my sanding as I was. I was planning on using chalk paint, which I later found out is very forgiving. Next time, I would get rid of the varnish and just rough the wood up quickly.

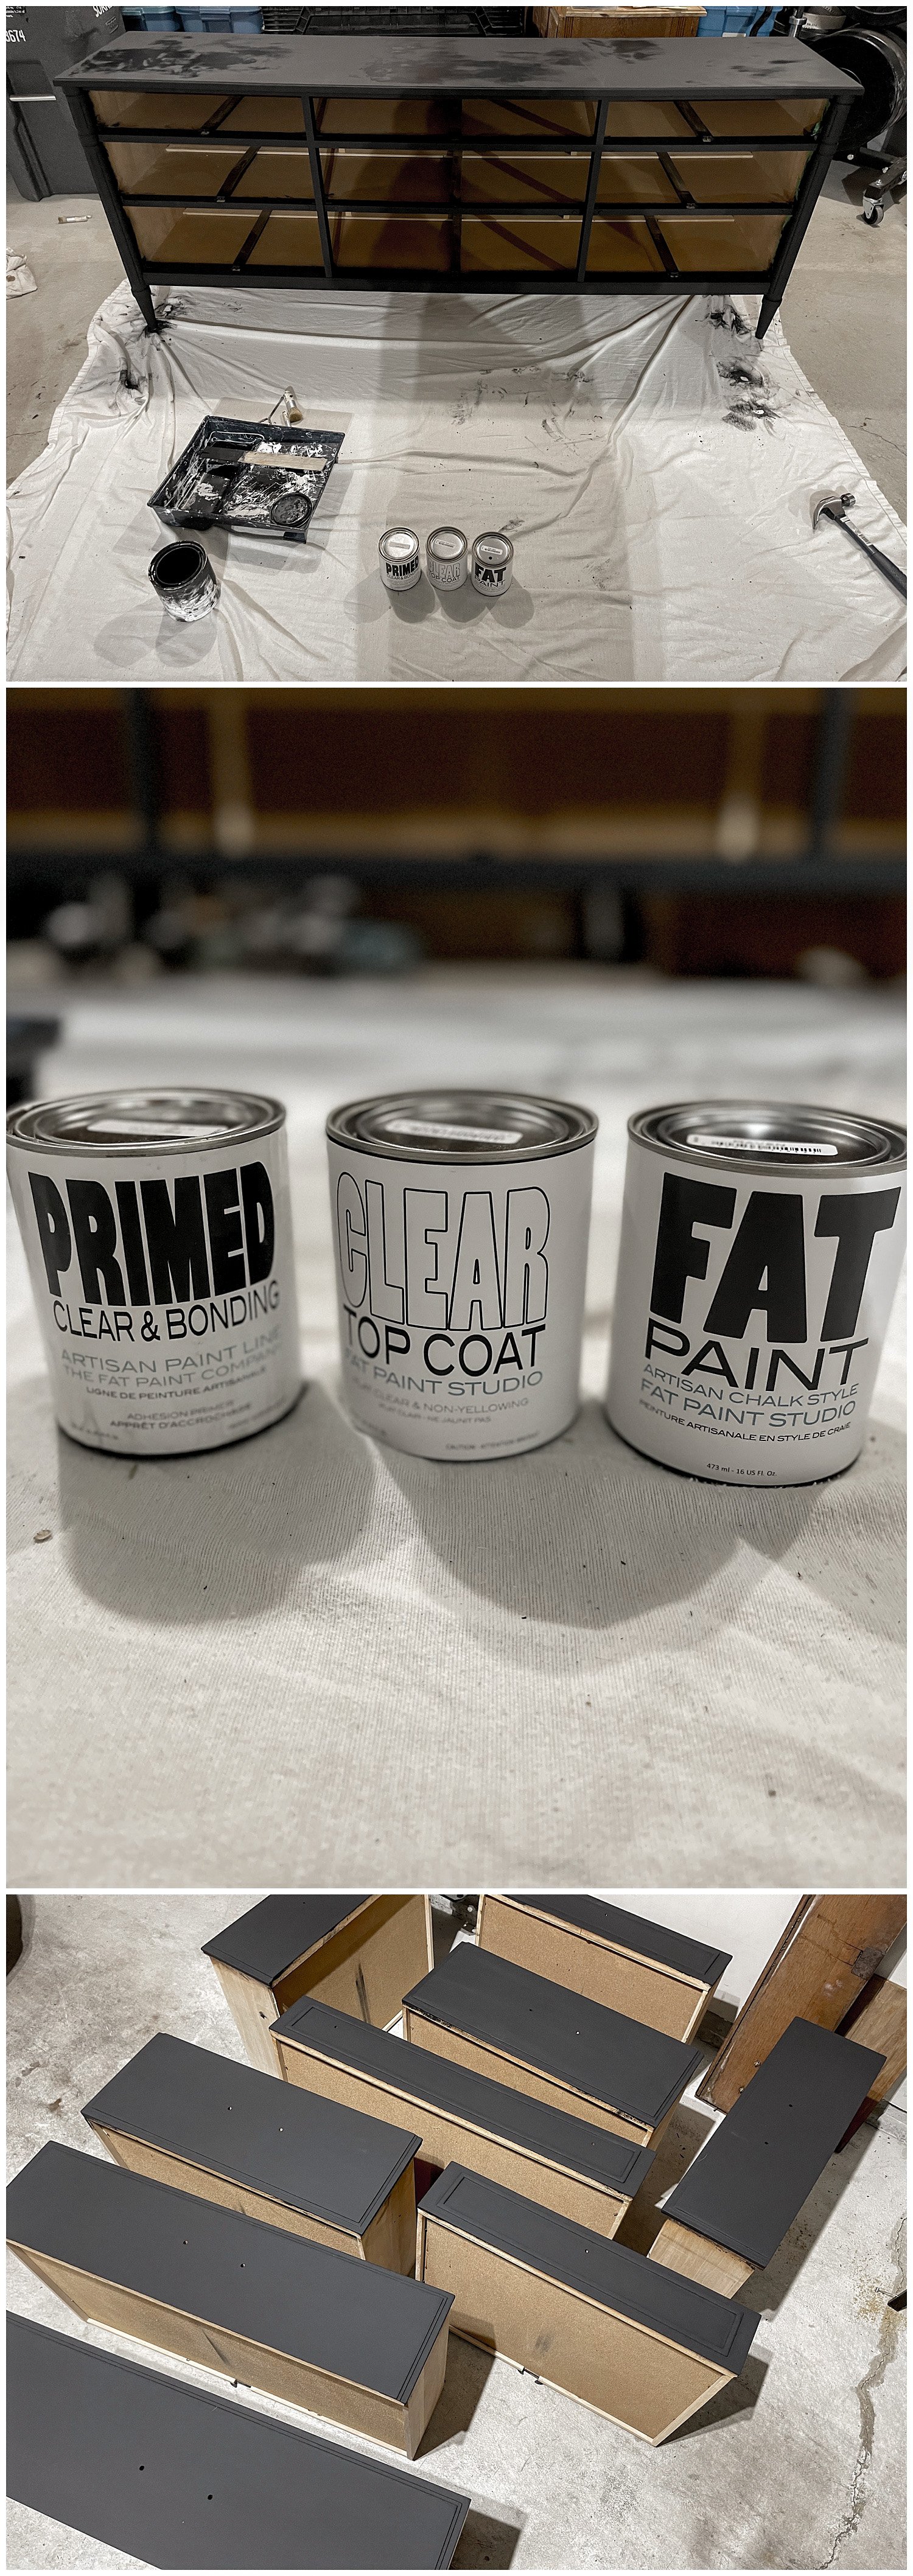
STEP TWO: PRIME
A primer is like the base coat of a manicure; it prepares the surface for painting and in the case of chalk paint, it becomes slightly sticky so the paint can adhere to it. I used Fat Paint’s Primed and Ready and applied two layers of primer to the entire unit with a manual paint brush.
What I learned: I read somewhere that a paint roller doesn’t work well with chalk paint, so I primed the entire piece by hand. I wish I had known that you can absolutely use a velour roller with chalk paint and as I later found out, it will save you a LOT of time.
STEP THREE: PAINT
This is where things start to get a little painful for me. I painted with Fat Paint in the colour Raven and gave the dresser three coats. I let each coat dry for 24 hours before applying the next one and I gently wet sanded between coats. I used this video to learn how to wet sand, but you could also use a really fine grit sandpaper (400+ grit).
Little did I know, the temperature in the garage (only slightly above freezing) combined with the size of the piece was causing the paint to not dry evenly, which caused streaking on my final coat. I was absolutely in love with the deep, rich black and was heartbroken when I started getting obvious streaking.
I called the company directly and they were amazing; they suggested bringing the piece inside, but more importantly, switching to a velour roller. Note that it must be a velour roller; other rollers will leave lint in your chalk paint. I was able to find a velour roller at my local Home Depot, but had to ask specifically for it.
What I learned: The next time I use chalk paint, I will start by using a velour roller from day one. The roller applied the paint in a fraction of the time and also applied it much more evenly compared to when I was painting manually.
STEP FIVE: SEAL IT
I sealed my piece twice with Fat Paint’s Clear Top Coat. By this point, I was using a velour roller, so this step went much faster than the previous 90% of my project. Live and learn, right? You can also seal chalk paint with wax, but because this was going to be a piece that was heavily used and in a high-traffic area, I wanted the extra protection of the Clear Top Coat.
In the images below, you can see the difference between the chalk paint with the top coat on (top) and unsealed (bottom).

STEP SIX: WAIT
I let it cure for 30 days with nothing on top of it or leaning against it. After 30 days, it’s fully dried and you can use it as you please.


DIY MEDIA UNIT: THE AFTER
Once it was fully dry, I put the hardware back on (and kept a few embellishment pieces off because I preferred it that way) and then I filled it with all the things we’ve been wanting to store away. We filled it with blankets, phone chargers, napkins, tablecloths, and even my toddler’s toys; I love that this piece is just as beautiful as it is functional. I learned a lot along the way and I can’t wait to put my new chalk paint skills to good use on my next makeover project: a chest of drawers. Stay tuned!


