5 TIPS TO KEEP YOUR DIY COSTS UNDER CONTROL
/Disclosure: This post uses affiliate links. This means that if you purchase something that I feature, I’ll get a small commission (this will not increase the price of the item). Thank you for supporting KFI!
-
There’s a meme going around the Internet and it goes a little something like this: “Why buy it for $7 when you can make it yourself with $92 of craft supplies?” I had to laugh when I came across this because as much as I hate to admit it, it’s true. If you’re not careful, DIY projects can easily cost just as much (or more) than if you were to buy the item and save yourself the time/money/energy.
I’m proud to report that I’ve made the majority of my wedding decor and not only did I stay on budget, I am currently under budget which feels amazing. So I thought I’d pass along the tips I’ve been using.

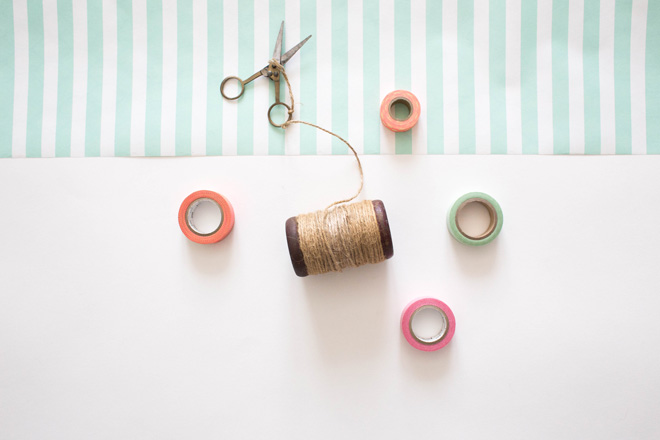
Image: Custom – Created Using Death to Stock Photo
5 TIPS TO KEEP YOUR DIY COSTS LOW + CREATIVITY HIGH
1. Beg, Borrow, and Steal (Okay, Don’t Steal) Crafting Tools – One of the biggest expenses for any DIY project is crafting tools (specialized hole punches, corner rounders, scoring tools etc.) that you may never use again. Instead of purchasing them yourself, keep your costs down by asking friends, co-workers, and family if they have any crafting tools that they’re willing to loan you. If the tool is something that you’re sure you’re going to use again, you may consider investing in it – which brings me to tip #2.
2. Do Your Homework – If you decide to invest in tools, do your research. Check out local stores and major chains like Michaels, Hobby Lobby, or Walmart to compare prices and brands. If you shop at Michaels, be sure to sign up for their email alerts and/or download their phone app ahead of time to gain access to weekly coupons, sales, and discounts. But proceed with caution: don’t assume that big-box stores are always cheaper; some of my best deals on DIY supplies have been from my local craft stores.
3. Think Outside the Box (or Bag) – Keep an eye out for items in your daily life that you can repurpose and use for your DIY projects. Real Bride DIY: For my DIY wedding reception chair signs, I needed 25 inches of ribbon. While taking down the recycling one day, I experienced a jolt of inspiration: the linen handles on the shopping bag I was about to recycle would be a perfect replacement for ribbon. I rescued the bag from the recycling bin and got crafting; I’m absolutely in love with the final product and the material I needed was literally right in front of me (and free).
4. Click and Save – If you know exactly what materials you need, plan ahead and shop online. Even with shipping charges, websites like eBay, Overstock, Etsy, and Amazon often beat out store prices. Which is why you see Jen always shopping on Amazon and Etsy, lol.
5. Get Thrifty – Instead of purchasing common wedding DIY supplies like picture frames, vases, jars etc. from a big-box store, consider shopping at your local thrift store. You’ll find everyday items that still have plenty of life left in them and your purchase may end up helping people in need. Real Bride DIY: Instead of purchasing faux vintage jars for our wedding, my fiancé and I made a day out of visiting thrift stores and snatching up every single old glass canister and jar in sight. Not only did we save a tonne of money, we had a memorable day hunting for treasure and spending time together.
Disclosure: The above links are affiliate links. This means that if you purchase something that I feature, I’ll get a small commission. Not enough to buy a pony, but this is one of the ways that I can continue to #findit for you! Images courtesy of Death to Stock Photo.